Red Velvet Cookies
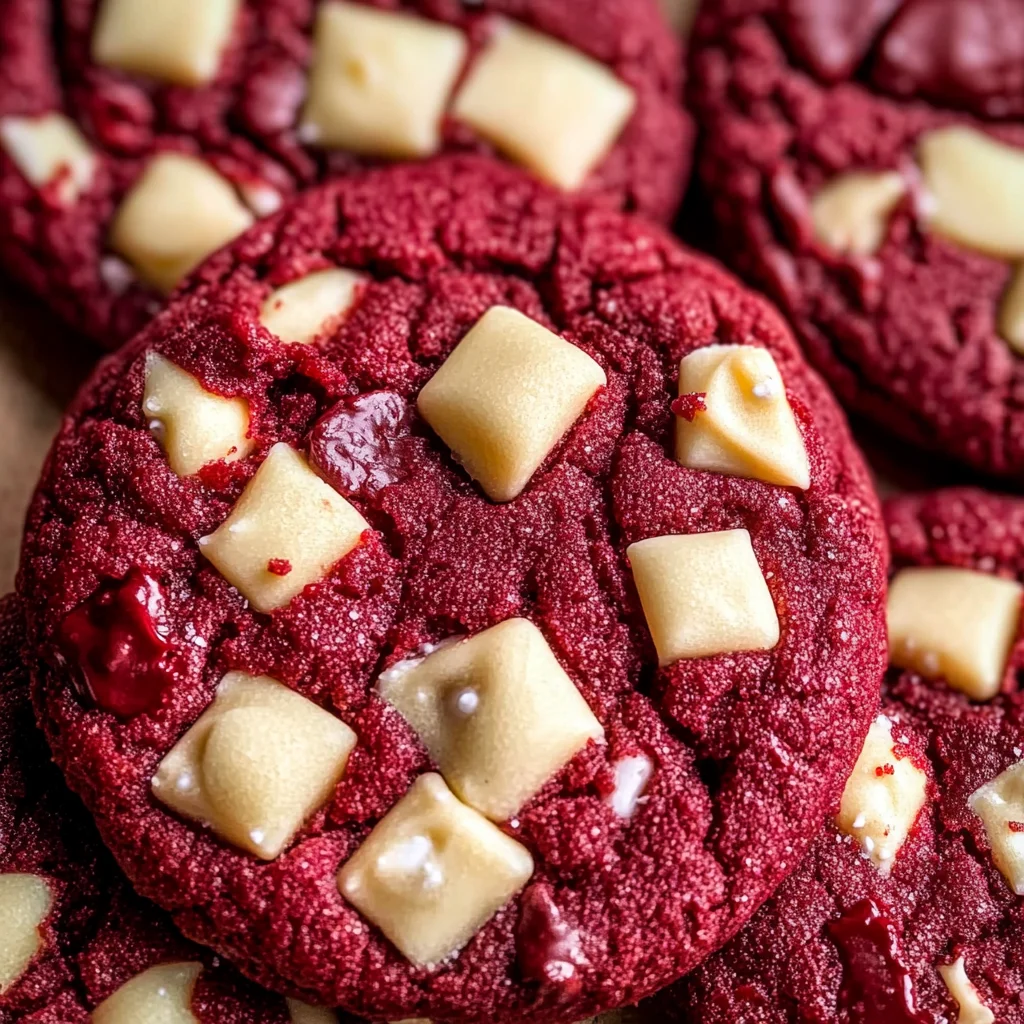
Red velvet cookies are a delightful twist on the classic dessert. With their rich color, chewy texture, and pools of melty white chocolate, these cookies are perfect for any occasion. Whether you’re celebrating a special event or just want to indulge in something sweet, red velvet cookies bring a unique flavor and visual appeal that will impress everyone. Their slight hint of cocoa adds depth, making them irresistible!
Why You’ll Love This Recipe
- Easy to Make – With simple ingredients and minimal steps, these cookies can be whipped up quickly.
- Perfect for Any Occasion – Whether it’s a birthday party, holiday gathering, or just a treat for yourself, they fit right in.
- Decadent Flavor – The combination of cocoa and white chocolate creates a mouthwatering taste experience.
- Colorful Presentation – The vibrant red hue makes these cookies visually stunning on any dessert table.
- Chewy Texture – Enjoy the satisfying chewiness that pairs perfectly with the creamy white chocolate.
Tools and Preparation
To make red velvet cookies successfully, having the right tools is essential. These items will streamline your baking process and ensure great results.
Essential Tools and Equipment
- Electric mixer
- Mixing bowls
- Measuring cups and spoons
- Baking sheets
- Parchment paper
Importance of Each Tool
- Electric mixer – Saves time and ensures thorough mixing for a fluffy cookie batter.
- Mixing bowls – Essential for combining ingredients without mess; different sizes help with organization.
- Measuring cups and spoons – Accurate measurements lead to consistent results in baking.
Ingredients
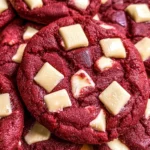
Red velvet cookies are chewy with a slight hint of cocoa and pools of melty white chocolate chunks.
Ingredients:
– 1 1/2 cups + 2 tbsps (204 g) all-purpose flour (spooned and leveled)
– 2 tbsps (10 g) Dutch process cocoa powder
– 1/2 tsp baking soda
– 1/2 tsp baking powder
– 1/2 tsp salt
– 3/4 cup (168 g) salted butter, softened
– 3/4 cup (165 g) light brown sugar
– 1/4 cup (50 g) granulated white sugar
– 2 egg yolks, at room temperature
– 1 tbsp vanilla
– 1-1 1/2 tsp red gel food coloring (depending on how red you want the cookies)
– 3/4 cup (150 g) chopped white chocolate or white chocolate chips
How to Make Red Velvet Cookies
Step 1: Preheat the Oven
Preheat your oven to 350 degrees Fahrenheit. Line two baking sheets with parchment paper to prevent sticking.
Step 2: Combine Dry Ingredients
In a small bowl, add the following:
* All-purpose flour
* Cocoa powder
* Baking soda
* Baking powder
* Salt
Whisk these ingredients together until well combined. Set aside.
Step 3: Cream the Butter and Sugars
In a large bowl, combine:
* Salted butter
* Light brown sugar
* Granulated white sugar
Using an electric mixer, cream these together for about two minutes until light and fluffy.
Step 4: Add Egg Yolks and Flavorings
Add in:
* Egg yolks
* Vanilla extract
* Red gel food coloring
Mix on medium speed for another two minutes until the mixture is fluffy.
Step 5: Incorporate Dry Ingredients
Gradually add the dry mixture from Step 2 into the wet ingredients. Mix until just combined.
Step 6: Fold in White Chocolate
Gently fold in:
* Chopped white chocolate or white chocolate chips
Mix just until incorporated to maintain some texture.
Step 7: Scoop Dough onto Baking Sheets
Scoop the dough into approximately 18 balls. Arrange them two inches apart on the prepared baking sheets.
Step 8: Bake Cookies
Bake in the preheated oven for about 10–12 minutes. Adjust baking time based on your preference for cookie texture—less time for chewier centers, more time for crisper edges.
Step 9: Cool Before Serving
Once baked, remove from the oven. Let cool on the baking sheet for five minutes before transferring them to a cooling rack to cool completely. If desired, add extra white chocolate chunks on top after baking.
Step 10: Store Leftovers
Store any leftover cookies in an airtight container at room temperature for up to three days. Enjoy your delicious red velvet cookies!
How to Serve Red Velvet Cookies
Red velvet cookies are a delightful treat that can be enjoyed in various ways. Whether you’re hosting a gathering or enjoying them at home, these cookies can be paired with different accompaniments to elevate your dessert experience.
With a Glass of Milk
- A classic pairing, the creaminess of milk complements the rich flavors of red velvet cookies perfectly.
Served Warm with Ice Cream
- Placing a scoop of vanilla or cream cheese ice cream on top of a warm cookie creates a delicious contrast in temperature and texture.
As Part of a Dessert Platter
- Arrange red velvet cookies alongside other baked goods like brownies and chocolate chip cookies for an inviting dessert spread.
With Fresh Berries
- Serve red velvet cookies with fresh strawberries or raspberries for a refreshing twist that balances the sweetness.
Drizzled with White Chocolate Sauce
- A light drizzle of melted white chocolate enhances the flavor and adds an elegant touch to your presentation.
How to Perfect Red Velvet Cookies
To achieve the best red velvet cookies, consider these helpful tips. Each step can make a significant difference in texture and flavor.
- Use Room Temperature Ingredients: Ensure butter and eggs are at room temperature for better mixing and fluffiness.
- Measure Flour Accurately: Spoon and level the flour to avoid using too much, which can lead to dry cookies.
- Don’t Overmix the Dough: Mixing just until combined prevents tough cookies by avoiding overdevelopment of gluten.
- Chill the Dough: If time permits, chilling the dough for 30 minutes can enhance flavor and prevent spreading during baking.
- Store Properly: Keep cookies in an airtight container to maintain their freshness for up to three days.
Best Side Dishes for Red Velvet Cookies
Pairing side dishes with your red velvet cookies creates a delightful dining experience. Here are some great options:
-
Cream Cheese Frosting
A rich frosting that echoes the flavors of the cookie, perfect for dipping or spreading on top. -
Vanilla Yogurt
The tartness of yogurt balances out the sweetness of red velvet cookies while adding creaminess. -
Fruit Salad
A refreshing mix of seasonal fruits adds brightness and contrasts nicely with the richness of the cookies. -
Chocolate Dipping Sauce
Melted chocolate provides an indulgent accompaniment that chocolate lovers will appreciate. -
Whipped Cream
Light and airy, whipped cream makes an excellent topping that enhances any dessert experience. -
Coffee or Espresso
The bitterness of coffee complements sweet treats beautifully, making it an ideal beverage pairing.
Common Mistakes to Avoid
Making red velvet cookies can be simple, but avoiding common mistakes is crucial for achieving the perfect result.
- Boldly skip the chilling time: Not chilling the dough can lead to flat cookies. Always chill for at least 30 minutes to help them maintain their shape.
- Boldly ignore measuring techniques: Scooping flour directly from the bag can lead to too much flour in your dough. Use a spoon to fill your measuring cup and level it off for accuracy.
- Boldly overlook ingredient temperature: Using cold butter or eggs can affect how well they blend. Make sure your butter is softened and eggs are at room temperature.
- Boldly rush the baking process: Opening the oven door too soon can cause cookies to deflate. Only check on them towards the end of the baking time.
- Boldly skimp on cooling time: Eating cookies straight from the oven may seem tempting, but they need time to set. Let them cool on the baking sheet before transferring them to a rack.
Storage & Reheating Instructions
Refrigerator Storage
- Store in an airtight container for up to three days.
- If layering cookies, place parchment paper between layers to prevent sticking.
Freezing Red Velvet Cookies
- Freeze in an airtight container or freezer bag for up to three months.
- For best results, place parchment paper between layers of cookies.
Reheating Red Velvet Cookies
- Oven: Preheat to 350°F (175°C) and heat for about 5-7 minutes until warmed through.
- Microwave: Place on a microwave-safe plate and heat for 10-15 seconds. Watch closely not to overheat.
- Stovetop: Use a skillet on low heat, cover with a lid, and warm for 1-2 minutes.
Frequently Asked Questions
If you’re curious about red velvet cookies, here are some frequently asked questions that might help.
What are Red Velvet Cookies?
Red velvet cookies are soft, chewy treats made with cocoa powder and red food coloring, often mixed with white chocolate chunks.
How do I achieve vibrant red color in my Red Velvet Cookies?
Use high-quality red gel food coloring; start with 1 teaspoon and add more if necessary until you reach your desired shade.
Can I substitute ingredients in Red Velvet Cookies?
Absolutely! You can substitute light brown sugar with granulated sugar or use dairy-free butter for a different flavor profile.
Why are my Red Velvet Cookies flat?
Flat cookies often result from overmixing or too much flour. Ensure accurate measurements and mix just until combined.
How long do these Red Velvet Cookies last?
These cookies last up to three days when stored properly at room temperature or can be frozen for up to three months.
Final Thoughts
Red velvet cookies are a delightful treat that brings together the flavors of cocoa and vanilla with a stunning appearance. Their versatility allows for customization—try adding nuts or different types of chocolate chips! Don’t hesitate; whip up a batch today!
Red Velvet Cookies
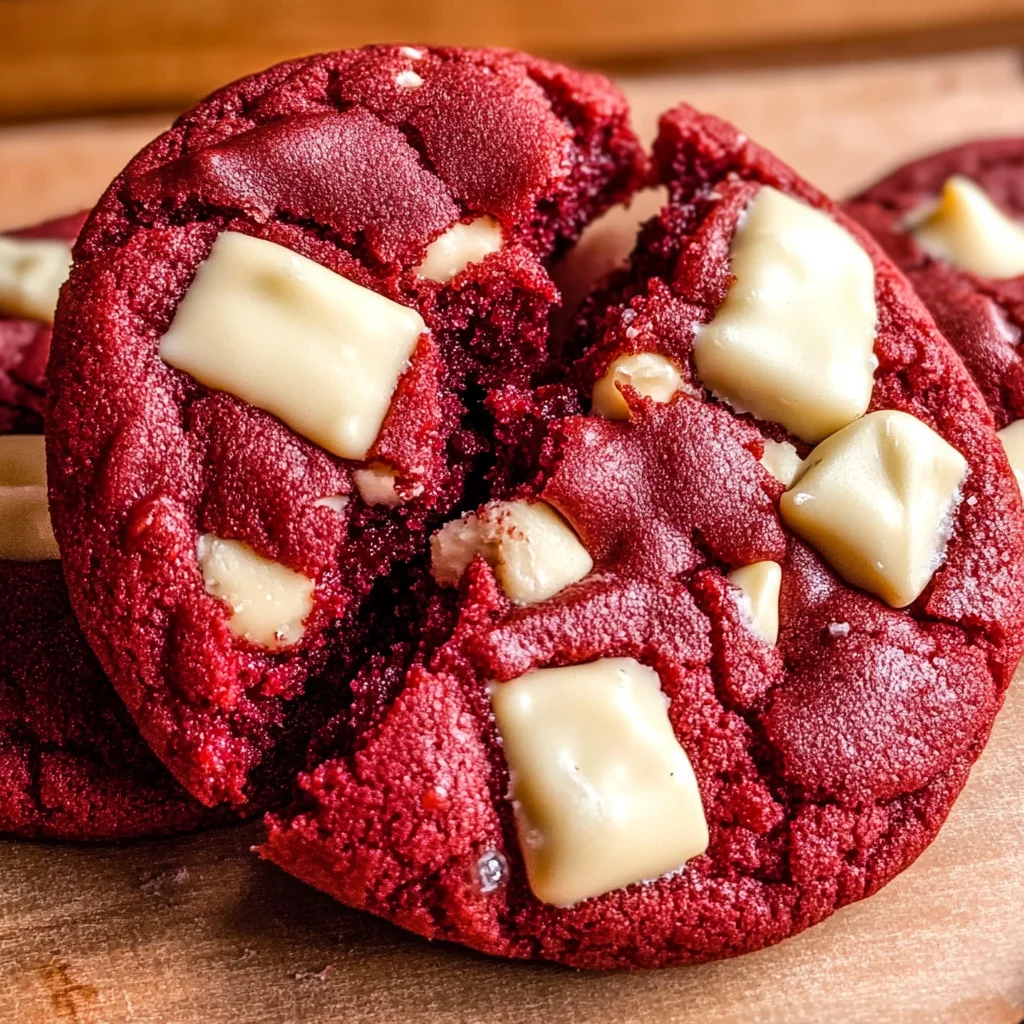
Indulge in the delightful world of Red Velvet Cookies, where vibrant color meets irresistible flavor. These chewy treats are a modern twist on the traditional red velvet cake, combining rich cocoa notes with creamy white chocolate chunks. Perfect for any occasion, whether you’re celebrating a birthday or simply treating yourself, these cookies will captivate both the eyes and the taste buds. Their stunning red hue paired with the sweetness of white chocolate creates a mouthwatering experience that will leave everyone asking for more. Simple to make and even easier to enjoy, these Red Velvet Cookies are sure to be a hit at your next gathering.
- Prep Time: 15 minutes
- Cook Time: 12 minutes
- Total Time: 27 minutes
- Yield: Approximately 18 servings 1x
- Category: Dessert
- Method: Baking
- Cuisine: American
Ingredients
- 1 1/2 cups + 2 tbsps all-purpose flour
- 2 tbsps Dutch process cocoa powder
- 1/2 tsp baking soda
- 1/2 tsp baking powder
- 1/2 tsp salt
- 3/4 cup salted butter, softened
- 3/4 cup light brown sugar
- 1/4 cup granulated white sugar
- 2 egg yolks
- 1 tbsp vanilla extract
- 1–1 1/2 tsp red gel food coloring
- 3/4 cup chopped white chocolate or white chocolate chips
Instructions
- Preheat your oven to 350°F (175°C) and line two baking sheets with parchment paper.
- In a small bowl, whisk together flour, cocoa powder, baking soda, baking powder, and salt; set aside.
- In a large bowl, cream the softened butter with light brown and granulated sugars using an electric mixer until fluffy.
- Add egg yolks, vanilla extract, and red gel food coloring; mix until well combined.
- Gradually incorporate the dry ingredients into the wet mixture until just combined.
- Gently fold in white chocolate chunks.
- Scoop dough into balls and place them two inches apart on prepared baking sheets.
- Bake for about 10–12 minutes; adjust time based on desired texture (chewy vs crisper).
- Let cookies cool on the baking sheet for five minutes before transferring them to a cooling rack.
Nutrition
- Serving Size: 1 cookie (about 35g)
- Calories: 179
- Sugar: 12g
- Sodium: 120mg
- Fat: 8g
- Saturated Fat: 5g
- Unsaturated Fat: 3g
- Trans Fat: 0g
- Carbohydrates: 25g
- Fiber: 0g
- Protein: 2g
- Cholesterol: 36mg