Sand Cake
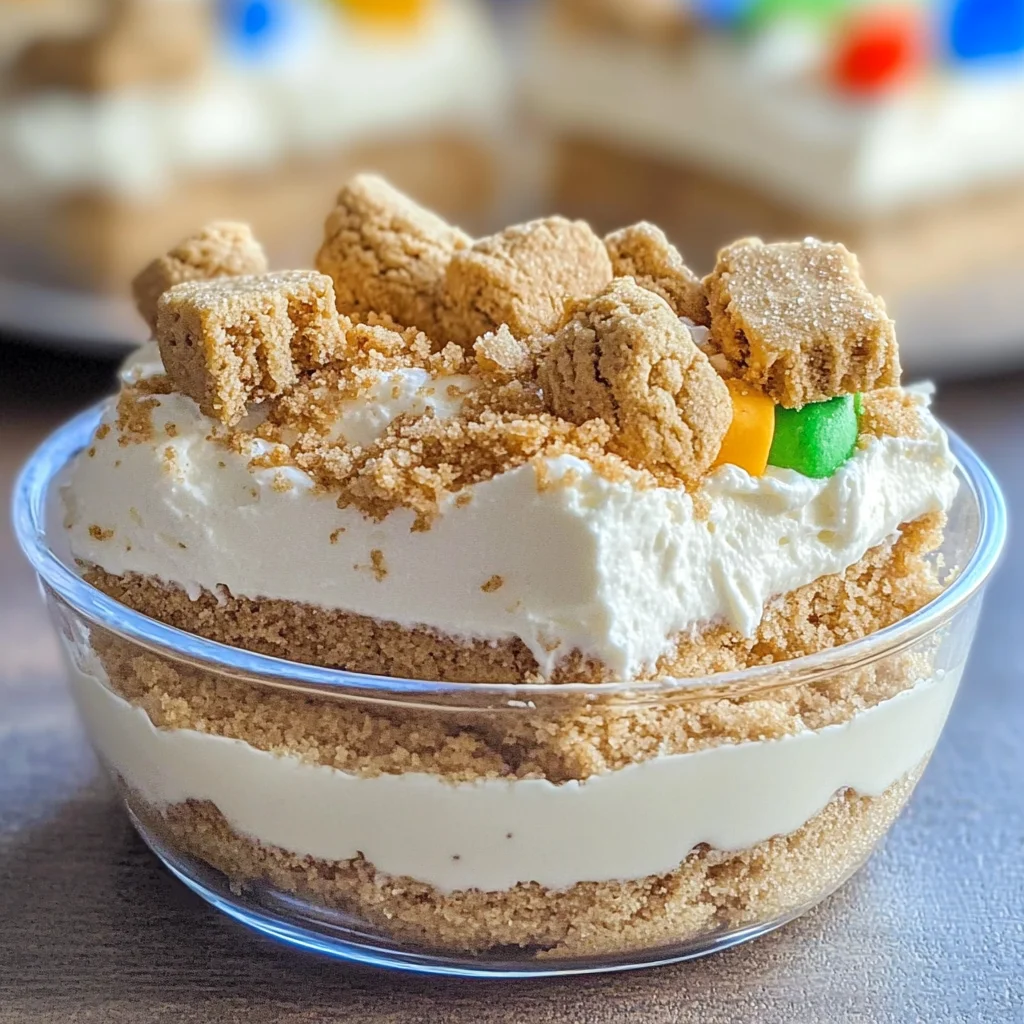
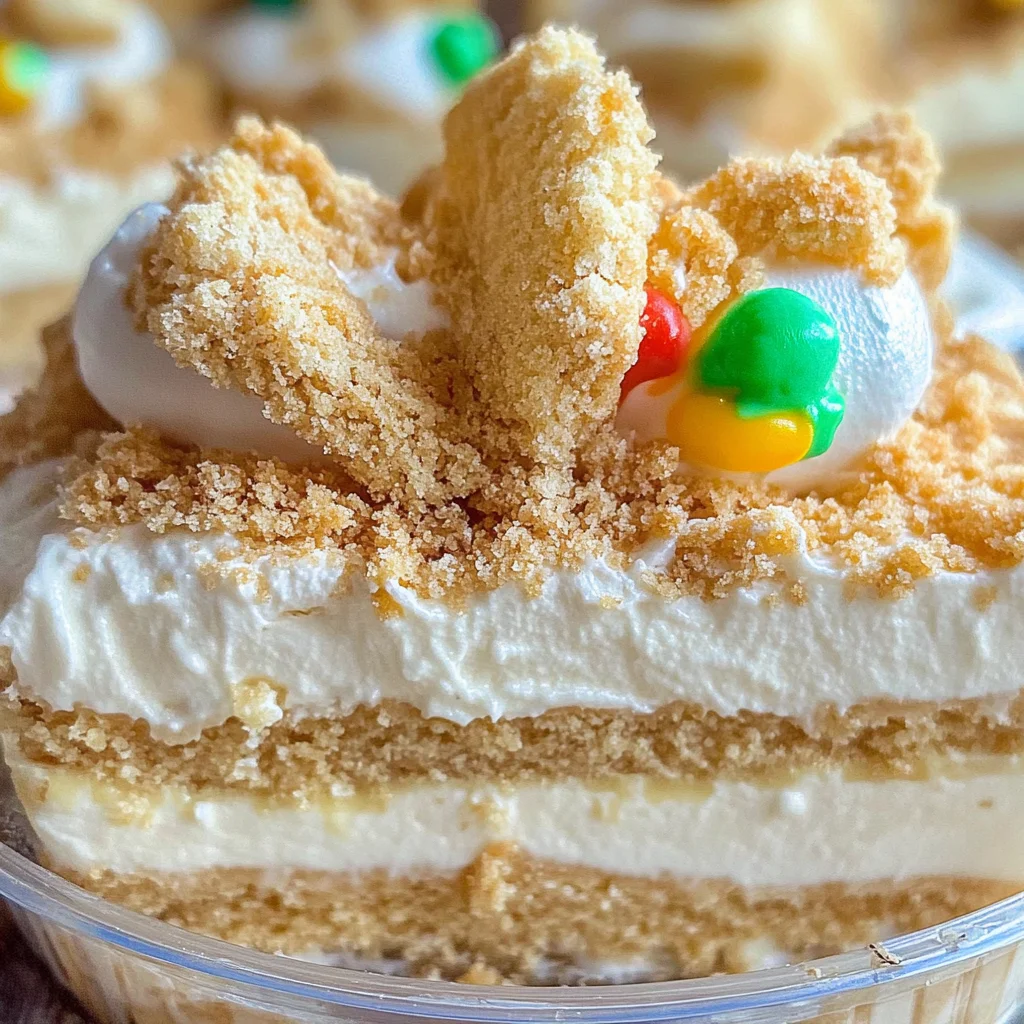
Plunge into the deliciousness of our No-Bake Sand Cake. This delightful dessert features layers of rich vanilla cookies, creamy pudding, and fluffy cool whip. It’s perfect for beach-themed parties or a simple family gathering, making it an ideal choice for various occasions. The standout quality of this dessert is its no-bake nature, allowing you to create a delicious treat without turning on the oven.
Why You’ll Love This Recipe
- Quick and Easy: With just 10 minutes of prep time, this no-bake dessert is perfect for busy days.
- Kid-Friendly: Kids will love helping to assemble their individual dessert cups!
- Versatile Serving Options: Serve it as slices or in individual cups for all occasions.
- Delicious Flavor: The combination of vanilla cookies and creamy pudding creates a mouthwatering taste.
- Great for Any Season: Whether it’s summer or winter, this treat is always a hit!
Tools and Preparation
Before diving into the recipe, gather your tools and ensure you’re ready to create this fun dessert.
Essential Tools and Equipment
- Mixing bowl
- Electric mixer
- Measuring cups
- Measuring spoons
- Serving cups or dish
Importance of Each Tool
- Mixing bowl: A spacious bowl helps combine ingredients easily without spills.
- Electric mixer: This tool makes whipping cream cheese and cool whip effortless for a smooth texture.
Ingredients
To recreate our delightful Sand Cake, gather these ingredients:
For the Base Layer
- 19 ounces Vanilla Sandwich Cookies (like Golden Oreos)
- 4 chocolate sandwich cookies (like chocolate Oreos)
For the Creamy Filling
- 2 (3.4 ounces) packages vanilla instant pudding
- 3 1/2 cups milk
- 8 ounces cream cheese (softened)
- 1/2 cup salted butter (softened)
- 1/2 cup powdered sugar
For the Topping
- 16 ounces whipped topping (thawed)
How to Make Sand Cake
Step 1: Prepare the Cookie Crust
- Crush the vanilla sandwich cookies until they resemble fine crumbs.
- Reserve a small amount for topping later if desired.
- Press the crushed cookies into the bottom of your serving dish or individual cups to form a base layer.
Step 2: Mix the Cream Filling
- In a mixing bowl, combine softened cream cheese and powdered sugar using an electric mixer until smooth.
- Gradually add in the milk while continuing to mix until well combined.
- Stir in the vanilla instant pudding mix until fully incorporated.
Step 3: Assemble Your Dessert
- Spread half of the cream filling over the cookie crust.
- Sprinkle crushed chocolate sandwich cookies on top of the cream filling layer.
- Add another layer of cream filling, followed by whipped topping spread evenly over the top.
Step 4: Chill and Serve
- Refrigerate your Sand Cake for at least 30 minutes to allow it to set properly.
- Once chilled, serve in slices or as individual dessert cups topped with reserved cookie crumbs if desired.
Enjoy your delicious No-Bake Sand Cake as a sweet treat that’s sure to impress!
How to Serve Sand Cake
Serving your No-Bake Sand Cake can be both fun and creative. This dessert is not only delicious but also versatile, making it perfect for various occasions. Here are some serving suggestions to elevate your dessert experience.
Individual Dessert Cups
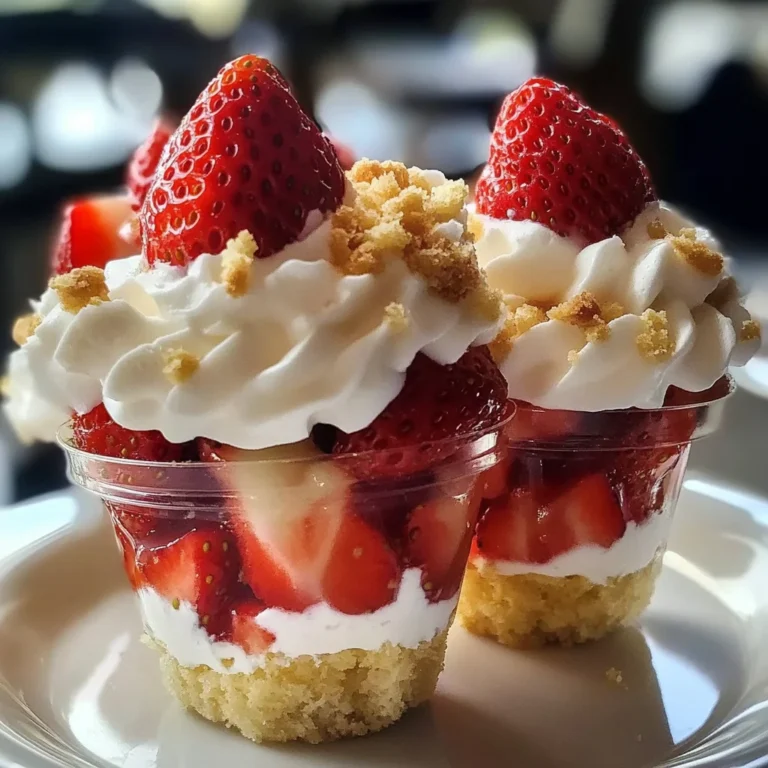
- Use small clear cups or jars for a charming presentation. Layer the sand cake ingredients for a beautiful visual effect that guests will love.
Beach Party Theme
- Decorate with edible seashells or gummy fish on top of each cup. This adds a festive touch that’s perfect for beach-themed gatherings.
Family Style Platter
- Serve the Sand Cake in a large dish, allowing guests to scoop their portions. This casual presentation encourages sharing and is great for family gatherings.
Kids’ Birthday Party
- Use colorful sprinkles or edible glitter on top to make it more appealing to kids. This playful touch will delight young guests and add excitement to the dessert table.
Poolside Treats
- Chill the dessert before serving for a refreshing treat on hot days. The cool whip provides a lightness that pairs beautifully with summer vibes.
How to Perfect Sand Cake
To create the ultimate No-Bake Sand Cake, consider these helpful tips:
- Chill Ingredients: Ensure your cream cheese and whipped topping are at room temperature for an easier mix and smoother texture.
- Use Fresh Cookies: For the best flavor and texture, use freshly purchased cookies. Stale cookies might not blend well or taste as delightful.
- Layer Carefully: When layering the pudding mixture and cookie crumbs, take your time to create distinct layers for an appealing look.
- Customize Flavors: Feel free to experiment with different flavored pudding mixes or cookies to suit your taste preferences.
- Serve Cold: Always chill the assembled dessert for at least 30 minutes before serving. This helps all flavors meld beautifully and enhances texture.
Best Side Dishes for Sand Cake
Pairing side dishes with your No-Bake Sand Cake can enhance the overall dessert experience. Here are some complementary options:
-
Fresh Fruit Salad
A mix of seasonal fruits adds freshness and balances the sweetness of the sand cake perfectly. -
Chocolate-Covered Strawberries
These indulgent treats provide a rich contrast to the lightness of the sand cake while adding a touch of elegance. -
Mini Cheesecakes
Offering small cheesecakes gives variety and caters to guests who may prefer something different yet still creamy. -
Ice Cream Sundaes
A classic choice, ice cream sundaes allow guests to enjoy their favorite flavors alongside the sand cake. -
Nut Butter Dip with Apple Slices
The crunchy apples paired with nut butter offer a healthy yet delicious option that complements the sweet dessert. -
Homemade Lemonade
A refreshing drink option that cuts through the richness of the sand cake, making it an ideal summer pairing. -
Cheese Platter
A selection of cheeses can provide a savory counterpoint that balances out the sweetness of your dessert. -
Chocolate Mousse Cups
Light and airy, chocolate mousse adds another layer of flavor while keeping things elegant at your gathering.
Common Mistakes to Avoid
To ensure your No-Bake Sand Cake turns out perfectly, avoid these common pitfalls.
- Bold Ingredients: Skipping any key ingredients can affect the texture and flavor. Make sure to gather all items before starting.
- Bold Overmixing: Mixing too vigorously can deflate the whipped topping. Use gentle folds when combining ingredients for a lighter texture.
- Bold Timing Issues: Not allowing enough time for the dessert to set can lead to a runny consistency. Chill in the refrigerator as directed for best results.
- Bold Improper Layering: Overloading layers may cause them to collapse. Follow suggested layering techniques for stability and presentation.
- Bold Temperature Mistakes: Using cold cream cheese can result in lumps. Ensure it is softened for a smooth mixture.
Storage & Reheating Instructions
Refrigerator Storage
- Store in an airtight container to maintain freshness.
- The No-Bake Sand Cake will last up to 3 days in the refrigerator.
Freezing Sand Cake
- You can freeze portions of Sand Cake for up to 2 months.
- Wrap tightly in plastic wrap or use freezer-safe containers.
Reheating Sand Cake
- Oven: Not recommended, as this dessert is best served chilled.
- Microwave: Avoid heating, as it may alter the texture significantly.
- Stovetop: Not applicable; serve directly from the fridge or freezer.
Frequently Asked Questions
Here are some common questions about making and enjoying Sand Cake.
Can I use different flavors of pudding for my Sand Cake?
Yes, using chocolate or butterscotch pudding can create unique flavor combinations while keeping the same creamy texture.
How long does it take to prepare Sand Cake?
Prep time is approximately 10 minutes, with additional chilling time required for the best results.
Can I make Sand Cake ahead of time?
Absolutely! This dessert is perfect for preparing a day in advance, allowing flavors to meld while chilling.
What are some variations of Sand Cake?
You can customize your Sand Cake by adding fresh fruits, nuts, or flavored whipped toppings based on your preference!
Final Thoughts
The No-Bake Sand Cake is a delightful treat that combines simplicity with indulgent flavors. Its versatility allows you to customize it according to your taste preferences. Whether you’re hosting a beach-themed party or simply want a family-friendly dessert, this recipe is sure to impress. Try it today and enjoy endless possibilities!
No-Bake Sand Cake
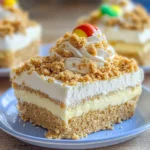
Dive into the delightful world of our No-Bake Sand Cake, a dessert that perfectly balances creamy layers of vanilla pudding and crunchy cookie crumbs. This easy-to-make treat requires no baking, making it an ideal choice for busy days or casual family gatherings. With its charming layers and refreshing flavors, it’s perfect for beach-themed parties or any occasion where you want to impress your guests. Kids will love helping to assemble their individual dessert cups, and the versatility allows for endless customization. Chill it, serve it in cups or slices, and watch everyone enjoy this irresistible treat!
- Prep Time: 10 minutes
- Cook Time: N/A
- Total Time: 0 hours
- Yield: Serves approximately 12 1x
- Category: Dessert
- Method: No-Bake
- Cuisine: American
Ingredients
- 19 ounces vanilla sandwich cookies
- 4 chocolate sandwich cookies
- 2 packages vanilla instant pudding
- 3 1/2 cups milk
- 8 ounces cream cheese (softened)
- 1/2 cup salted butter (softened)
- 16 ounces whipped topping (thawed)
Instructions
- Crush the vanilla sandwich cookies and press them into the bottom of your serving dish or individual cups.
- In a bowl, mix softened cream cheese and powdered sugar until smooth, then gradually add milk.
- Stir in vanilla pudding mix until fully combined.
- Layer half of the cream filling over the cookie crust, followed by crushed chocolate cookies.
- Add another layer of cream filling and top with whipped topping.
- Refrigerate for at least 30 minutes before serving.
Nutrition
- Serving Size: 1 slice
- Calories: 305
- Sugar: 22g
- Sodium: 210mg
- Fat: 18g
- Saturated Fat: 10g
- Unsaturated Fat: 7g
- Trans Fat: 0g
- Carbohydrates: 32g
- Fiber: 1g
- Protein: 3g
- Cholesterol: 35mg